I’m mega excited because one of my friends is moving to LA next year so this weekend I booked flights to go and visit her for two whole weeks at the end of Feb!!!
One of the things I love about America is the pancakes, they’re light and fluffy, filling and have so many options for accompaniments! So I decided to make it my mission to make perfect American style pancakes here in the UK before I go to LA so that I can boss it while I’m there.
These are the pancakes I had to live up to:
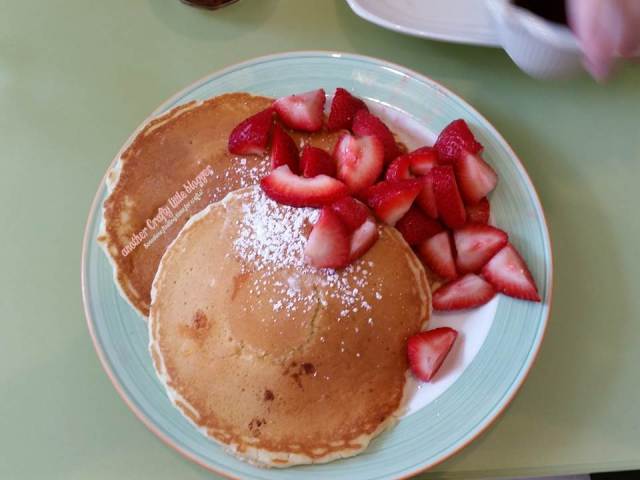
These are the ones I had at The Tick Tock diner in New York earlier this year and they were absolutely DIVINE.
So I headed off to Pinterest to find myself a recipe. I chose this one from Candace Davenport at Somewhat Simple.
I halved the amounts since I was only making them for two people.
Ingredients:
1 1/3 cups sifted plain flour
3 tsp baking powder
1/2 cup of sugar
2 eggs, beaten
1 cup of milk
2 tbs. olive oil
This made 8 pancakes – 4 per person which was more than enough.

Utensils:
- Large mixing bowl
- Smaller bowl
- Whisk
- Frying pan
- Large flat spatula (this is a good one)
Directions:
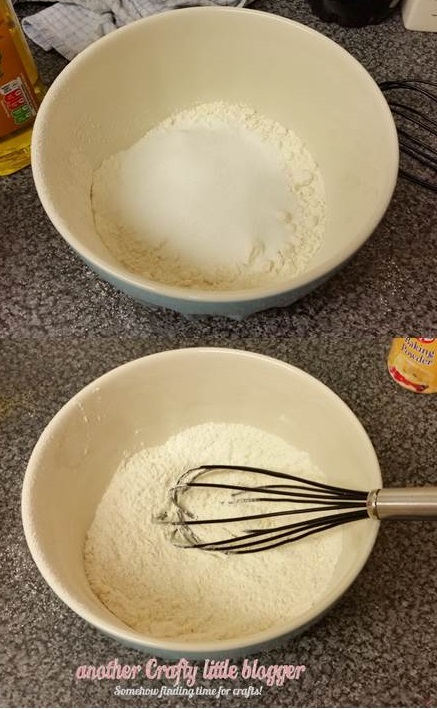
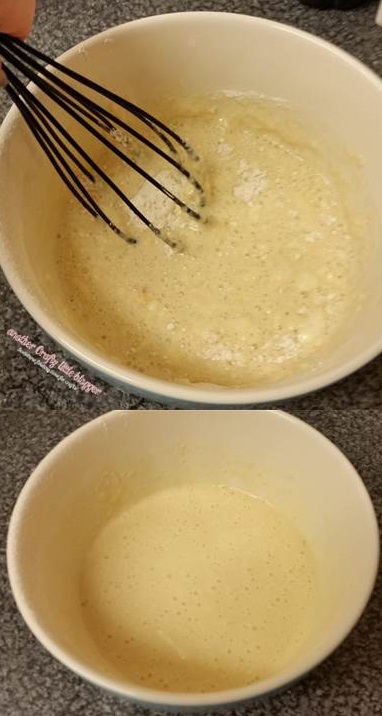
- Sift the flour, baking powder and sugar into a large bowl and use a whisk to mix together
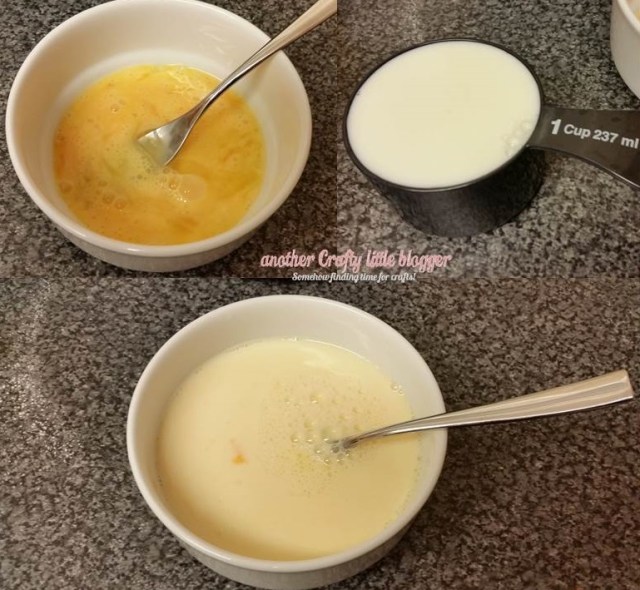
- In another bowl, crack the eggs and beat together with a fork, add the milk and mix
- Add the olive oil to the egg & milk mixture and mix well
- Add the wet ingredients to the dry and mix until just combined (don’t overdo it, lumps are ok!)
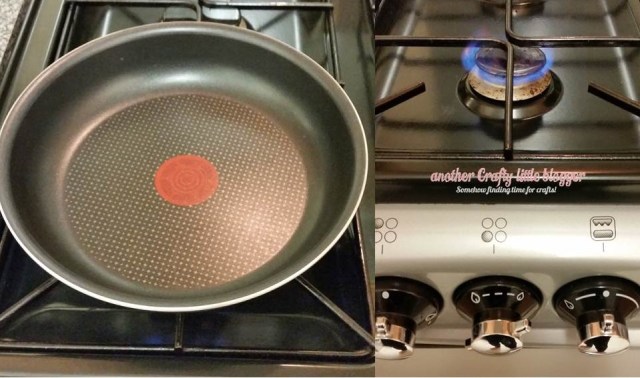
- Get your frying pan on to warm up on a medium heat on the smallest ring of the hob
- Add a 1/3 cup of batter to the hot pan
- Check your pan position, you want to ensure that wherever you’ve dropped the batter, the heat from the burner is centred directly below the pancake.
- Please be SENSIBLE with this! Don’t put your pan in an unbalanced or dangerous position, make sure handles are away from the edge at all times.
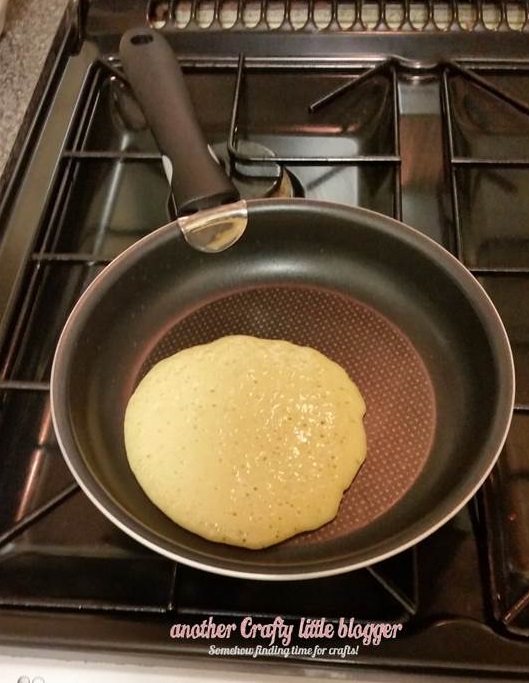
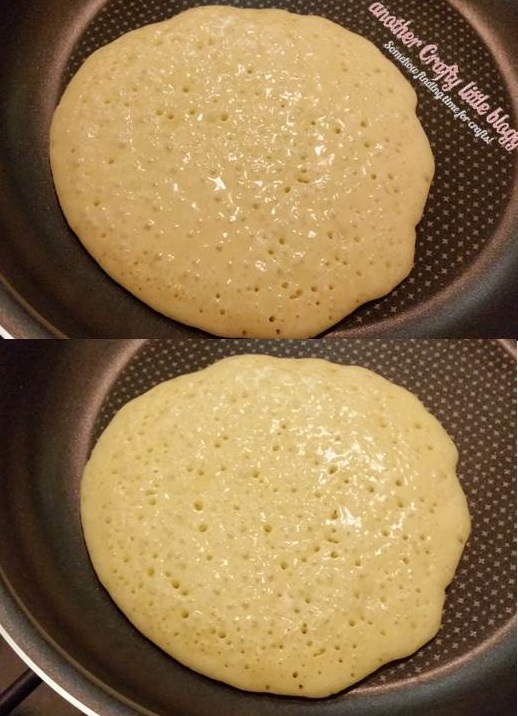
- Now it’s time to look for BUBBLES
- Couldn’t resist!
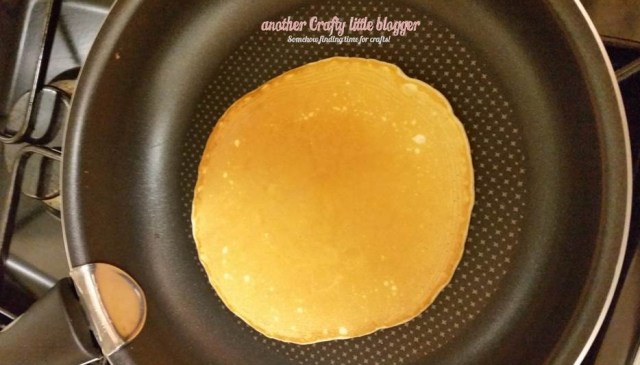
- Once you see perfect bubbles all over, flip it over with your big spatula, it should look like below:
- Give it at least thirty seconds on the other side before you check it. Keep checking until it’s lightly done on the other side.
- Repeat steps 6-10 until you run out of batter. You should be able to make at least 8 large pancakes
- Add your topping of choice, we went for plain ole Maple Syrup but experiment with different kinds of fruit and definitely try bacon and maple syrup if you haven’t had it before!
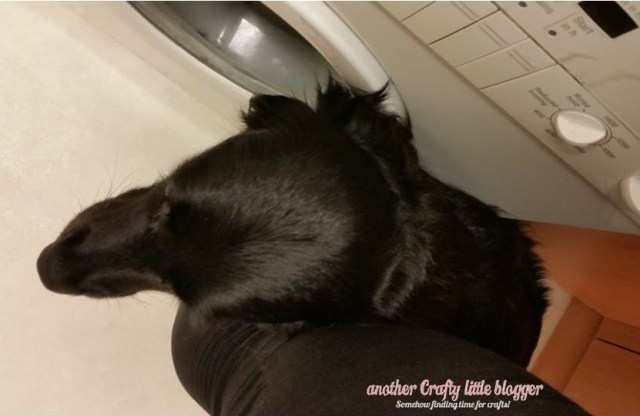
Around this time, someone set off a firework nearby so Apple came to make sure I was ok:


Serious talk though, bubbles are very important at this stage. You want the whole pancake to have popped bubbles all over before you flip it over. That’s how you’ll know it’s the perfect amount done on the other side.
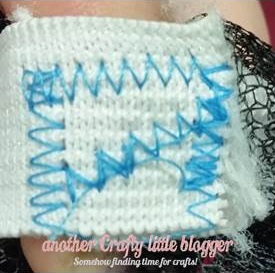
Check out the picture below, the top one is not quite done, there’s a patch in the bottom left that’s still quite wet with bubbles still below the surface of the batter.
The bottom picture shows the perfect amount of bubbles evenly distributed across the pancake

Serve with a big icy Coca Cola and pretend you’re on Venice Beach already!

Let me know how you get on with these foolproof instructions! I’m super proud of myself because I can usually barely make any food from scratch!