Glitter Tipped Nails

Nails

To go with my Halloween outfit, I decided to crack the glitter out and create glitter tipped nails. To do this, I used Rimmel Metal Rush and Rimmel Precious Stones polishes:

MetalRush

Rimmel Metal Rush – Pearly Queen

Preciousstones

Rimmel Precious Stones – Diamond Dust

I started with a clear base coat, then did two coats of the Metal Rush polish. This is a great nail polish in it’s own right, people always comment on it when I wear it as it’s quite unusual. In fact, my boss asked me about it at the end of my job interview!

I then used the Precious Stones polish and started at the tip of my nail, dabbing it along the edge and then gently sweeping it down towards the nail bed. The idea is for the glitter to get lighter towards the bottom of your nail.

Once all of that’s dry, a final clear coat will help it all stay on a bit longer!

I did this for my fairy costume but I think it’ll look great for Christmas parties as well.

Advertisement

My 5 favourite Autumn Nail Colours for 2015

Top 5 Colours

Summer is over, autumn is on it’s way and that means it’s time to get excited about autumnal nail colours! I’ve enjoyed pastels over the summer but I love that I can go out and indulge in darker, more moody colours now 🙂

My top 5 picks:

Rimmel Velvet Matte in Velvet Touch:

Rimmel Velvet Matte Nail Polish in Velvet Touch

I love how rich this colour looks, I’m really getting into Matte nail colours at the moment

Nails Inc. Tate Nail Polish:

Nails Inc. Tate Nail Polish

Can’t go wrong with a sexy red colour. Best paired with rounded nails to avoid looking like a witch 😉

Nails Inc Savile Row Nail Polish:

Nails Inc Savile Row Nail Polish

This colour looks amazing, I think this might be my Halloween nail varnish

Orly Colour Blast Plum/Gold Color Flip:

Orly Colour Blast Plum/Gold Color Flip

I’m a massive fan of nail varnishes that change depending on how you look at them. I’m definitely getting this for Autumn.

Eve Snow Nail Polish Film Noir:

EveSnowFilmNoir

Not as dark as my other picks but I’m excited about trying this polish as it’s supposed to be really good for your nails! Also I love the name “Film Noir” and love grey/purple colours all year round.

Those are my top 5 colours for this time of year. Let me know your favourites in the comments!

NYE Fireworks Nail Tutorial

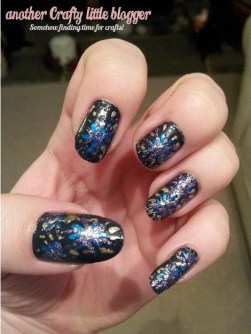
Christmas is over and my nails took a bit of a battering with all those Roses and Quality Street I had to open not to mention unwrapping presents! I did away with the christmas trees (see them here) and decided to go with a fireworks design for NYE.

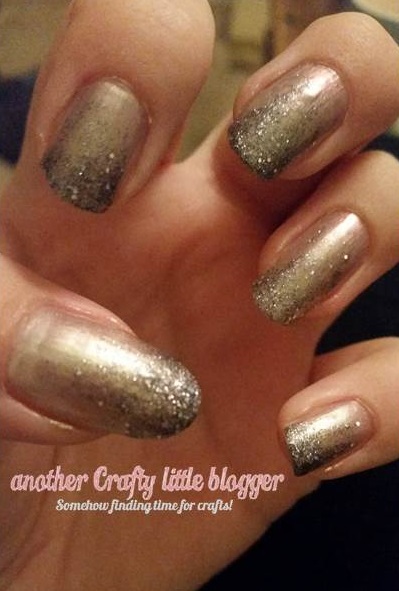
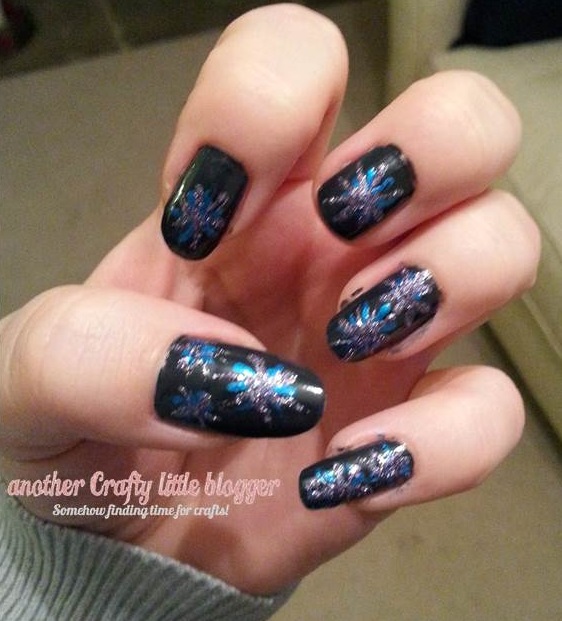
I’m pleased with my final result:

nye final

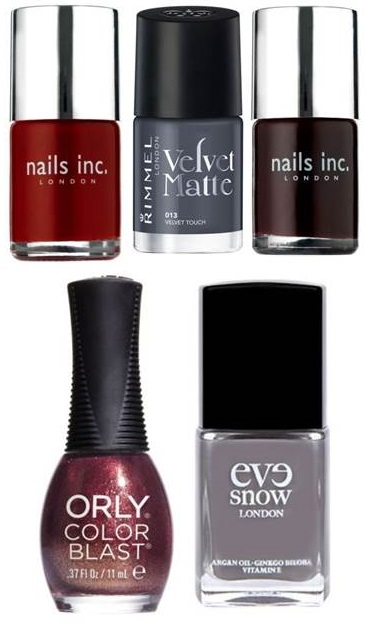
I started with a clear coat of Sally Hanson’s “Double Duty” Base and top coat followed by one coat of Essie 760 “Bobbing for Baubles“:

Essie Polish colour

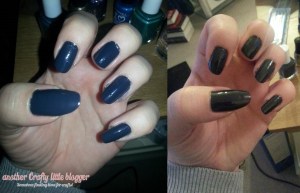
It’s incredibly hard to get a good picture of how this polish looks, it’s a grey-navy colour in daylight but dark grey almost black in low light.

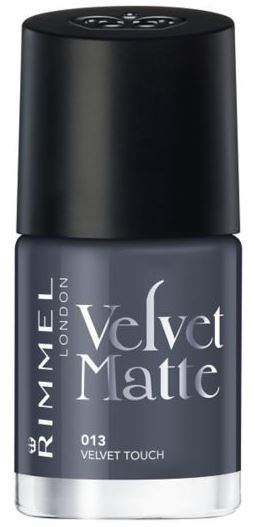
I then used my smallest nail dotting tool to draw a basic star shape with Rimmel I Love Lasting Finish 198 “Azure” polish:

Azure Stars

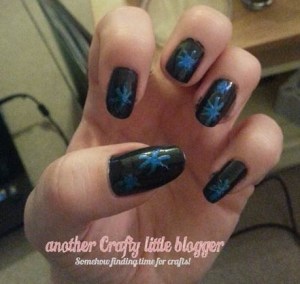
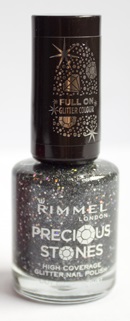
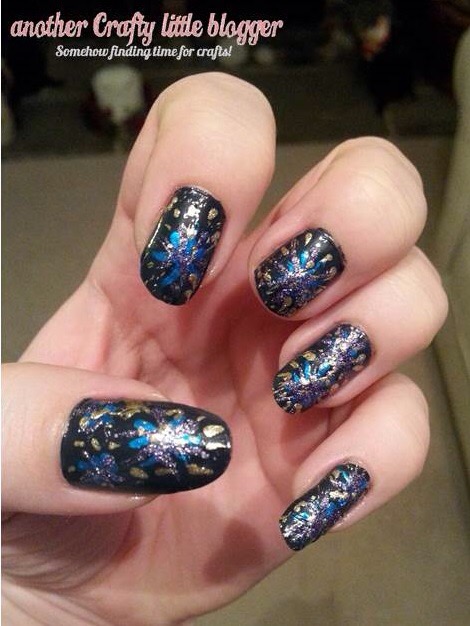
I did this for all of my nails and gave it a minute or two to dry before I added my next polish, Rimmel Spacedust 006 “Moon Walking” (looks like it’s discontinued but I found it on EBay) This one is a textured glittery purple which I love on its own and I knew it would be perfect for this design. I drew overlapping stars in the purple glitter polish and they were starting to look like fireworks 🙂

Moon Walking MoonWalking Lines

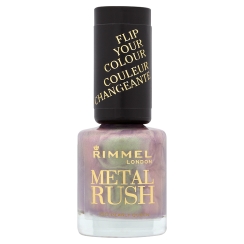
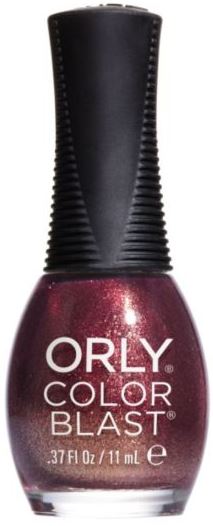
I then moved on to my final colour, Orly “Luxe”. This was a freebie from a magazine but I will definitely be looking for a full size bottle when it runs out. This is the same polish I used for the baubles on my christmas tree design.

With this polish I simply filled in any blank parts of my nails and added some dotting randomly across the nail as well:Gold stars

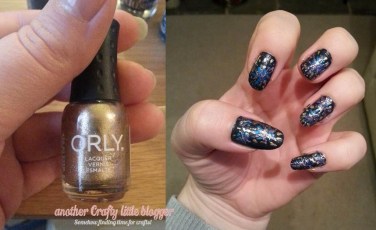
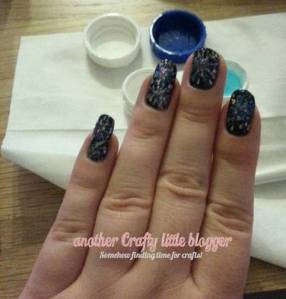
Then all that was left to do was clean up. I am pretty bad at painting carefully but I have now found a very effective way to clean up around my nails!

This wasn’t my own idea but I definitely advocate it. I can’t find the tutorial I originally saw this on but I’ll add a link when I come across it again. I have an old contact lense case and I keep nail varnish remover in the blue side and plain water in the white side. I use an eye liner brush and dip it into the nail varnish remover, wipe the excess on the edge of the case and then sweep it around the edges of my nails to clean up the polish. I then use the water to just rinse off the brush between nails and dry it on a tissue.

clean up2 clean up1

I always do this before my final clear coat as the messy coloured polish comes off more easily and I can touch up if I go a bit over the top with the remover.

And with a clear coat I’m done and ready to party on NYE or babysit for four boys as it happens!

/home/wpcom/public_html/wp-content/blogs.dir/ba5/74984772/files/2015/01/img_0218.jpg