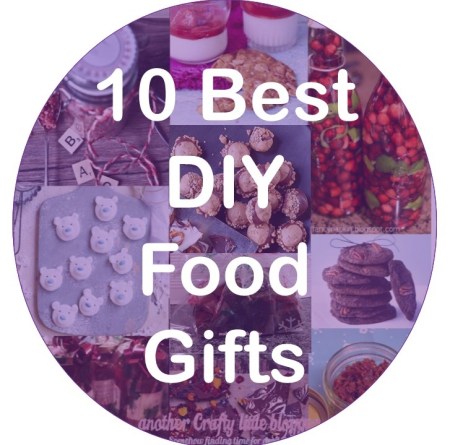
I love giving food as gifts (partly because I’m poor and have a HUUUUGE family) but also because who doesn’t love receiving tasty treats, especially at Christmas?!
Here are some of my favourite food gifts to give out at Christmas, for the most part these ideas are things you can make in bulk and give out to family and friends, great if you’re visiting lots of people over the festive season!
- Slow Cooker Chocolate Orange Fudge
- Chilli Jam
- Bacon Salt
- Chocolate Bark
- Infused Vodka
- Bacon Jam
- Peanut and Toffee Bon bons
- Polar Bear Peppermint Creams
- Chocolate chunk pecan cookies
- Salted almond snaps
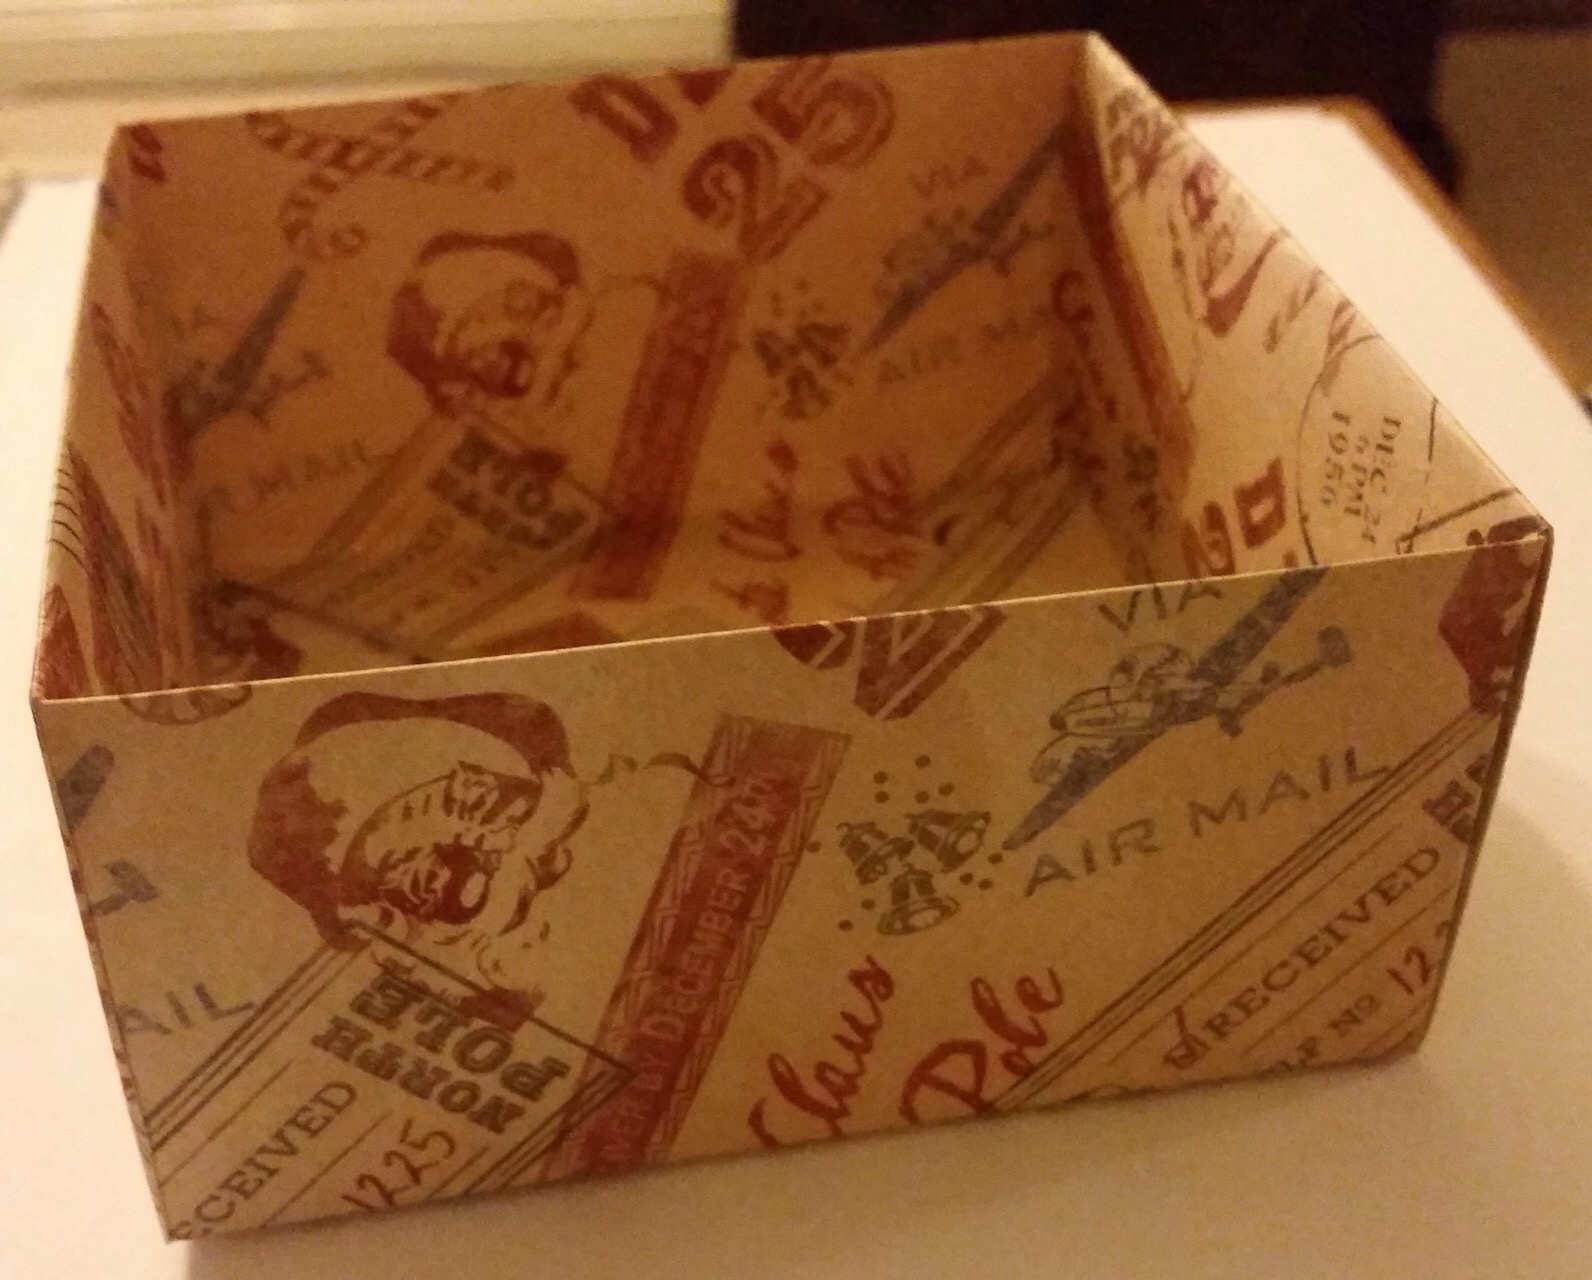
Credit: Me!
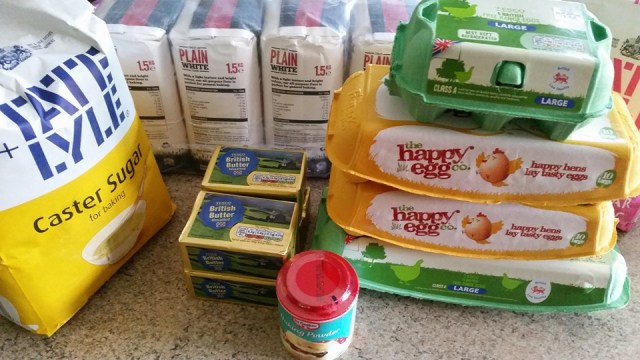
Ok, ok, shameless self promotion, these were my DIY food gift last year and it was super easy to make!

Credit: Me!
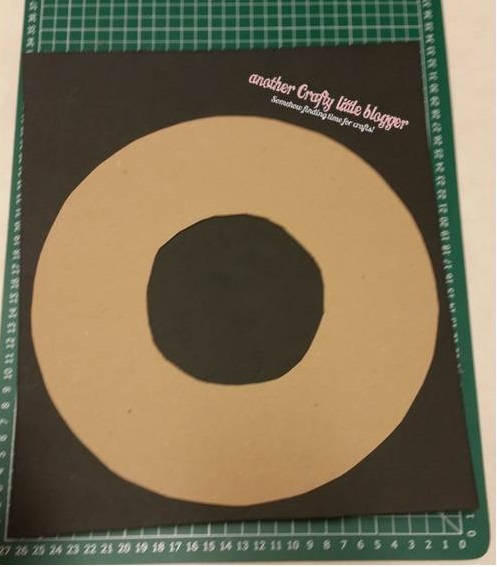
This one is also me, I made chilli jam for my extended family 3 years ago and essentially started the tradition of giving food as a gift each year!

Credit: http://www.notquitenigella.com
Bacon… salt… Bacon Salt. This is pure genius.

Credit: Jamie Oliver
Chocolate Bark is another super easy, fairly cheap to make option. You can make grown up versions with tasty nuts and dried fruit and a kid’s version with jelly beans or popping candy. Hey who am I to judge? Make whichever one you think your family and friends will enjoy most!

Credit: http://www.fancynapkinblog.ca
For your grown up friends and family!

Credit: Lori Mama at http://www.food.com
BACON JAM. Make it. Eat it. Try and remember to give some as presents. Eat some more of it. Probably have to make two batches.

Credit: Jennifer Joyce for BBC Good Food
Obviously don’t give this to anyone with nut allergies but these look delicious.

Credit: Miriam Nice for BBC Good Food
These are supposedly good to make with kids, this could be a fun way to get kids involved with making food gifts. Perhaps for their teachers at the end of term or just for their friends!

Credit: Sara Buenfeld for BBC Good Food
Cookies are a classic gift for a reason. Add pretty packaging and throw them at your family and friends.

Credit: Cassie Best for BBC Good Food
A twist on the classic cookie gift but another delicious option!
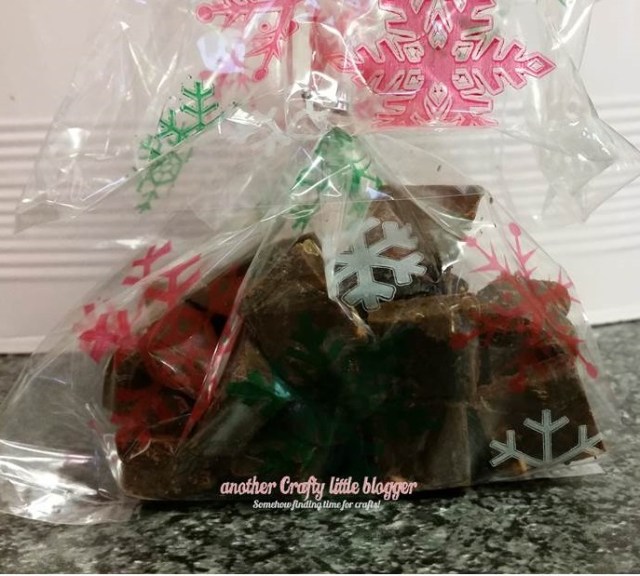
Nice packaging is key to a home made food gift, invest in some pretty Christmas themed cellophane bags like these and add pretty ribbons.
Let me know which one is your favourite! 🙂
Pin this for later!